How to assemble a clarinet

The different parts of the clarinet
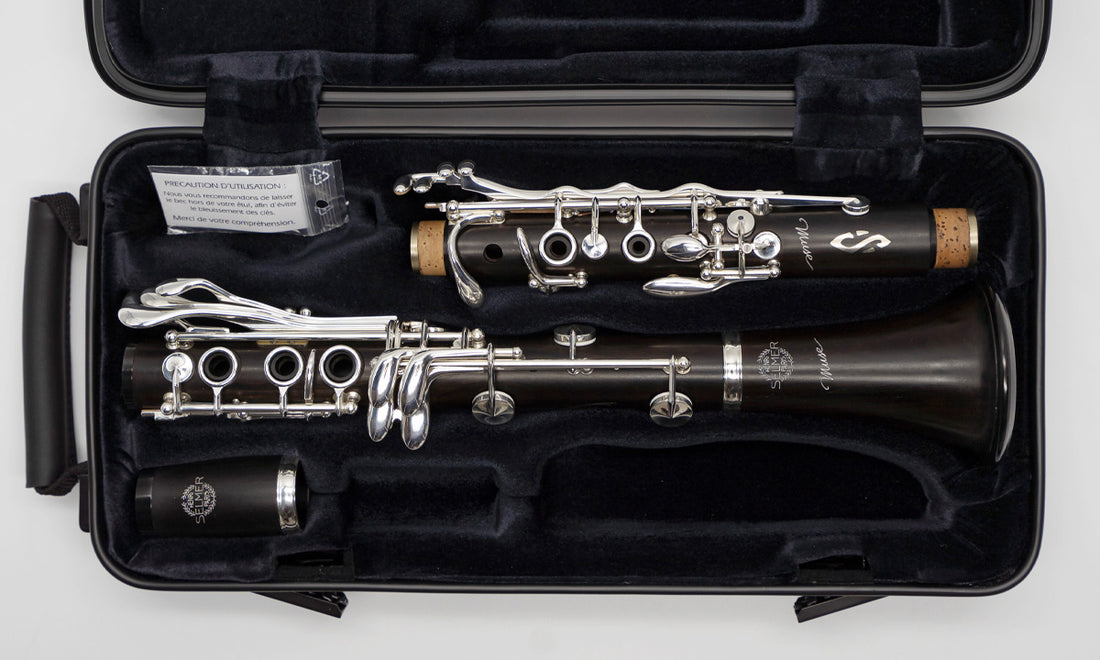
A classic clarinet consists of four main parts connected by cork joints, all topped off with a mouthpiece, a reed and a ligature.
- The bell: the part at the very bottom of the clarinet, shaped like a cone.
- The lower joint: the largest section of the clarinet. You can tell it apart from the top joint, because it has a cork connection at the bottom and a metal or black ring at the top.
- The upper joint: a little shorter than the lower joint, it has two cork connections (tenons) and often bears the model name or brand of the instrument.
- The barrel: this small part serves as a connection between the upper joint and the mouthpiece. There is no key on the barrel, which usually also bears the mark of the instrument.
- The mouthpiece: the part in which the musicians will blow. The air then makes the reed vibrate and this is what creates the sound. The ligature is used to hold the reed in place. Many clarinets also have a metal or plastic mouthpiece cap, which serves to protect the mouthpiece in the case.

How to assemble the clarinet
To facilitate assembly, regularly apply cork grease to the tenons. Here are the steps to assembling your clarinet:
- Connect the bell to the lower joint:
- Attach the upper joint to the lower Joint:
- Attach the barrel:
- Attach the mouhpiece:
Then add the mouthpiece on the barrel. Wet your reed – for example by putting it in your mouth – then place it against the mouthpiece table (the flat side). Vertically align the tip of the reed with the tip of the mouthpiece. Hold the reed in place with the ligature. You are now ready to play!

► Maintain your clarinet properly
► Tips for starting the clarinet